September 11, 2017
#273
Gentle reader,
Before I start on today's subject, let us all pause to remember the 21st Century's "Day which will live in infamy", September 11, 2001.

My wife's work location is closing down and they are shedding all kinds of things. She brought home two old typewriter tables. Lest you not know to which I refer, here is a photo of the other one she brought home. It sits in her home office. It is smaller in every way to the one I have repurposed. In fact, so narrow, at 14 inches, as to make us wonder whose legs could fit in there to type.
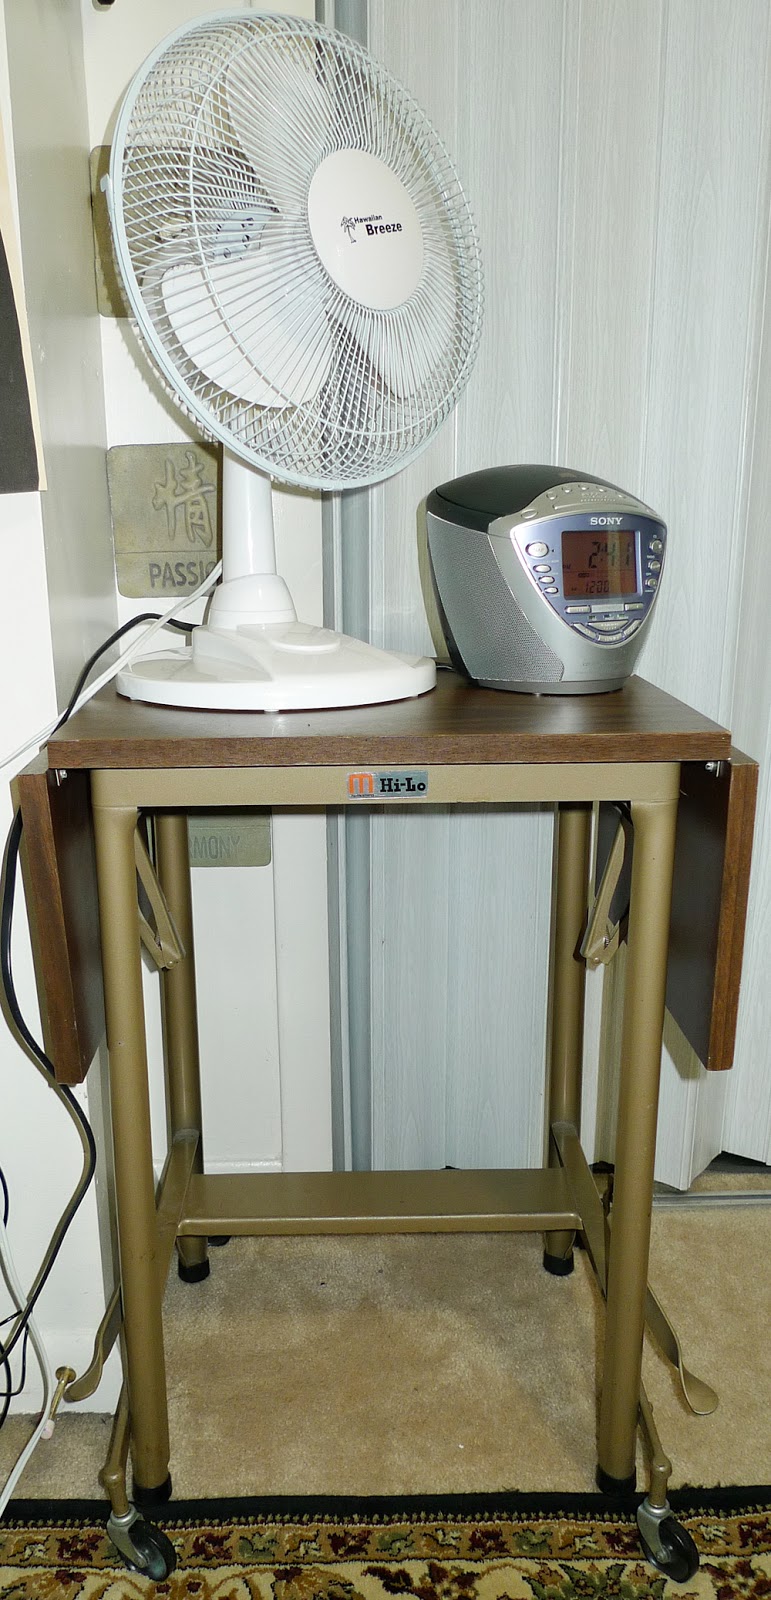
This one is years, perhaps decades, newer than the one I am presenting to you.
Now, some of you may wonder what is a: Typewriter, and why is there a table for it?
Since typewriters used to be something an office worker might only use occasionally, it made no sense to have one plunked on their desk where it would have to be moved to do other work. Plus the larger typewriters were very heavy.
Thus, someone invented the typewriter table. They put casters on them for easy sharing of a typewriter between workers. They also thought to add two folding shelves to hold the work one was typing from. Quite brilliant, really.
Prior to meeting and marrying Nancy, I was perfectly happy with the Olivetti portable typewriter that I had been using for years. Here is a photo of one just like it, which I borrowed from the Internet:

It has no correction capabilities, if one typed the wrong letter, one pulled out the paper, threw it away and started over again. This was before Wite-out. Also WAY before personal computers and word processing and all the modern conveniences we take for granted now.

A quick DuckDuckGo search also yielded number of photos of typewriters on tables. This one I also borrowed. It is from a time between the two we have. Note the metal shields around the casters (wheels). It is fancier than either of ours, having a drawer.
Side Note: Nancy had an old 286 PC when we got married. An older friend would give her his old one when he upgraded. Thus she received a Gateway 2000 386 PC soon after we wed. It had a 40 megabyte (yes: megabyte) hard drive, 4 megs of ram and ran at a blistering 16 kilobytes per second! Heady times those were. At the time, we had also never heard of the Internet. Oh, sure, AOL was in business, sending out CD-Rom discs with free hours, but we were not sure what "on-line" meant.
So, with the groundwork laid, we used the one in her office for the grandkids to eat from when we watched them. We found the surfaces too small for that task. So, looking at the decrepit condition of the all-gray one, I decided it was a candidate for overhaul and improvement. Here is what the top of it looked like:

It is plywood with the top layer being engineered wood. The small holes you see in the bigger piece are from me drilling the mounting holes all the way through so that I could mark the locations on the new top by tapping a small screwdriver through each hole with a light hammer.

As you can see, not a surface anyone would want to use. It must have sat in a storage room for many years.

And here it is after I completed the work.
As you can see, I have been remodeling the house since I retired. One thing we had done is the carpeting ripped out and new flooring laid in the common areas on the main floor. A first for me. Every place I have lived as an adult had wall-to-wall carpeting. We chose Acacia wood, as we have two Acacia trees which I planted in our backyard. They are such pretty trees with fern-like leaves and feathery blossoms.

Pretty, yes? That's a shot I made, one of many. I have another shot on my National Geographic page:
Scott Robb Photographer Profile -- National Geographic Your Shot
Scott Robb Photographer Profile -- National Geographic Your Shot
But, I digress. Back to the remodeling. I came home one day to find Nancy had de-carpeted the stairs from the foyer to both floors. Surprised, to say the least, she said we should replace the pine treads with oak ones. No going back now, and it is something we'd decided upon.

I tried to get a stain that was close to the look of the new floors, choosing red mahogany. I finished the treads in two coats of Spar Urethane, which is used on wooden sailboats.
We also hand stripped the multiple layers of paint from the wrought-iron railing and repainted it in a gloss black.
There's a reason I tell you this, we wanted this table to match all that and match another table which now stands in our foyer.


The photo below shows a lever pointing down. This indicates that the feet are lowered by raising the casters inside the metal cups. And the table cannot be moved. At least not easily.


Now, a few final words on the process. Since the top is pine and the other woods used are oak, I wasn't sure how well it would match. It does, very well.
If you ever want to stain some wood, do NOT buy the stain-and-finish-in-one products. While they work, the results never look good. At least when I used the stuff, they did not.
Buy stain, which is oil-based, and if water containing objects may be placed upon your project, Spar Urethane. It too is oil based. Apply the stain and wipe off the excess and let dry exactly as the directions indicate. That is vital. Apply a coat of urethane, let dry at least 24 hours and use fine sandpaper or 0000 steel wool to smooth any imperfections. Completely remove all dust and apply a second coat. Tack cloth or other very fine lint-free cloth is good for that. I used the small paint rollers which come in 3 inch and 6 inch widths, (not for the stain) and are used in painting trim, cabinet doors and other wood that will be glossy, to apply the urethane. There have a fine nap and the urethane smooths out very nicely as a result. No need to clean the roller, simply wrap a rag around it and pull it off, placing it in the trash.

With it having casters, we can easily move it out of the way when not in use. Plenty of room for the little ones to eat and not be crowded when doing so.
Thanks once again for taking the time to read my words and view my photos. The pageviews have exceeded 185,000 the last time I checked. It humbles me that so many people like what I write.
Scott
September 11, 2018
#273


Whew ! Looks good ! :-D
ReplyDeleteThank you, young lady!
Delete