November 28, 2018
#292

Gentle reader,
We moved from humidity-free Denver, Colorado to humid Richmond, Virginia in the 1970's in June after I graduated high school.
I had a plastic suitcase "stereo" then which sounded fine to me. I put stereo in quotes, because calling those POS stereos is like endorsing any Crosley product as a high quality sound source.
Anyway, as I have told you before, I was happy with my plastic-fantastic until meeting my new friend Phillip and his real stereo.
Since I could not yet afford any real components, AND since there was an incredibly pretty girl named Cindy Short that worked at Woolco, I frequented the store to just get a chance to speak with her. We later went out and I realized that she was not the brightest knife in the kitchen.
As a result, I found and bought a "bridge" stereo from Woolco to hold me as I saved up my money. Made by Morse, with the fancy name Electrophonic, I bought a Quadraphonic receiver that had a built-in 8-Track/Quad Tape player and four crappy speakers that appeared to have horn tweeters, but were in fact plastic trim pieces. It did have a phono input so I could hook a record player to it. As long as it had a ceramic cartridge.

I found this image on the Internet. A crappy composition, but it was the largest size photo that showed what I remember it looking like.
NOW, Quad-8-Track was the one TRULY Discrete form of Quadraphonic music at the time. Four tracks for side one of the record and four for side two. Or that is how I remember it. My Blood, Sweat & Tears Quadraphonic tape was convincing by surrounding me with music.
The three competing forms of Quad on records then were: SQ, QS and CD4. The latter claiming to be Discrete. Each had a unique way of encoding two extra channels into the music 45 degree stereo grooves of LP records.
Different component makers embraced each of the formats. Sansui used QS. Interestingly, QS could decode Dolby Surround perfectly as I discovered when we played Operation Dumbo, a Disney movie that took place in Vietnam during the war. We were watching it on VHS with the audio through a Sansui Quad receiver. An NVA gunboat was pursuing our heroes and the baby elephant in a boat and when the bad guys fired their cannon. We heard the BOOM! behind us, heard the shell fly over us, then Boom/Splash in front of us! We looked at each other and said, "Whoa. Did you hear that?" in unison. We do that a lot. Soul mates.
But, I digress. Something I am particularly good at. Look, a chicken!
I started my first real stereo, as you know, in 1975-76, by building a Dynaco PAT-5, two SWTPC Tiger .01 60 watt mono amps and a pair of Dynaco A25 floor model speakers. Plus a B.I.C 940 turntable.
So, when I saw that Dynaco was reborn and coming out with new all-black high-end products in the 1990's I vowed to own some. All that I could afford was their update to this:
So, when I saw that Dynaco was reborn and coming out with new all-black high-end products in the 1990's I vowed to own some. All that I could afford was their update to this:

The 1973 Dynaco Quadapter. Sometimes called Dynaquad. Dynaco later incorporated this device in an update to their SCA-80 integrated solid state amplifier. They called it SCA-80Q. They are sought after today.
I wrote to the new Dynaco company and they sent me these brochures.

See that QD-1 brochure? That is all that I could afford then, and here are photos of it:

QD-1 Series II, updated for use with a stereo receiver to passively provide for five speakers while watching movies. I never tried it for that, but did use it with music and four speakers.

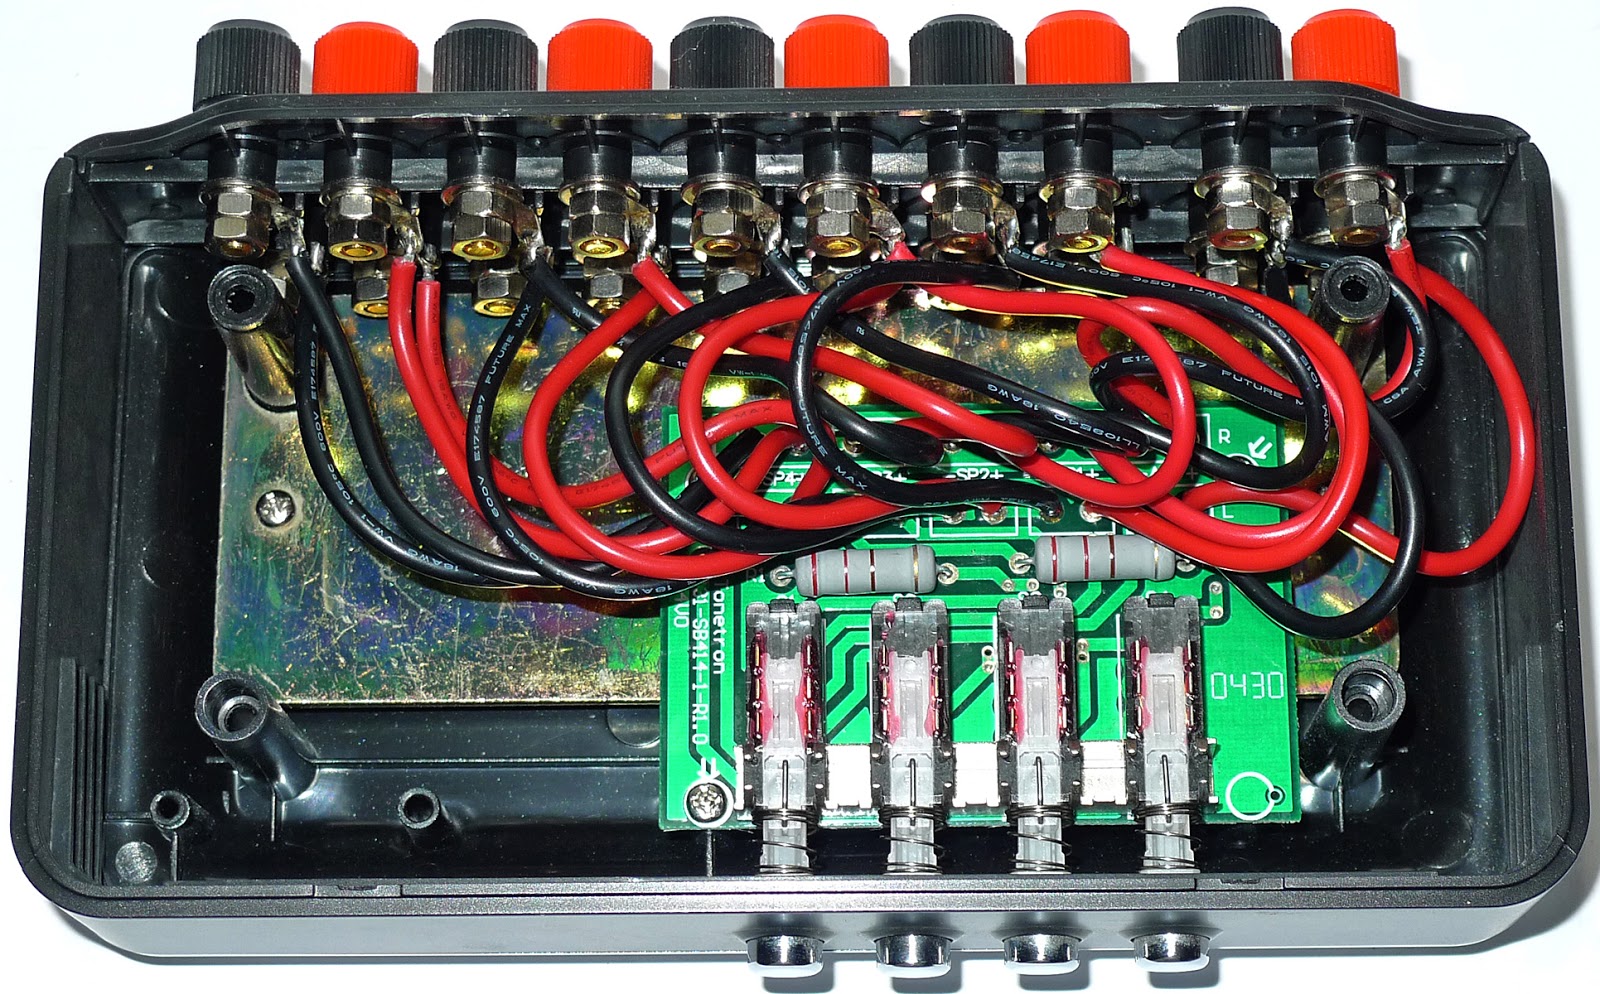
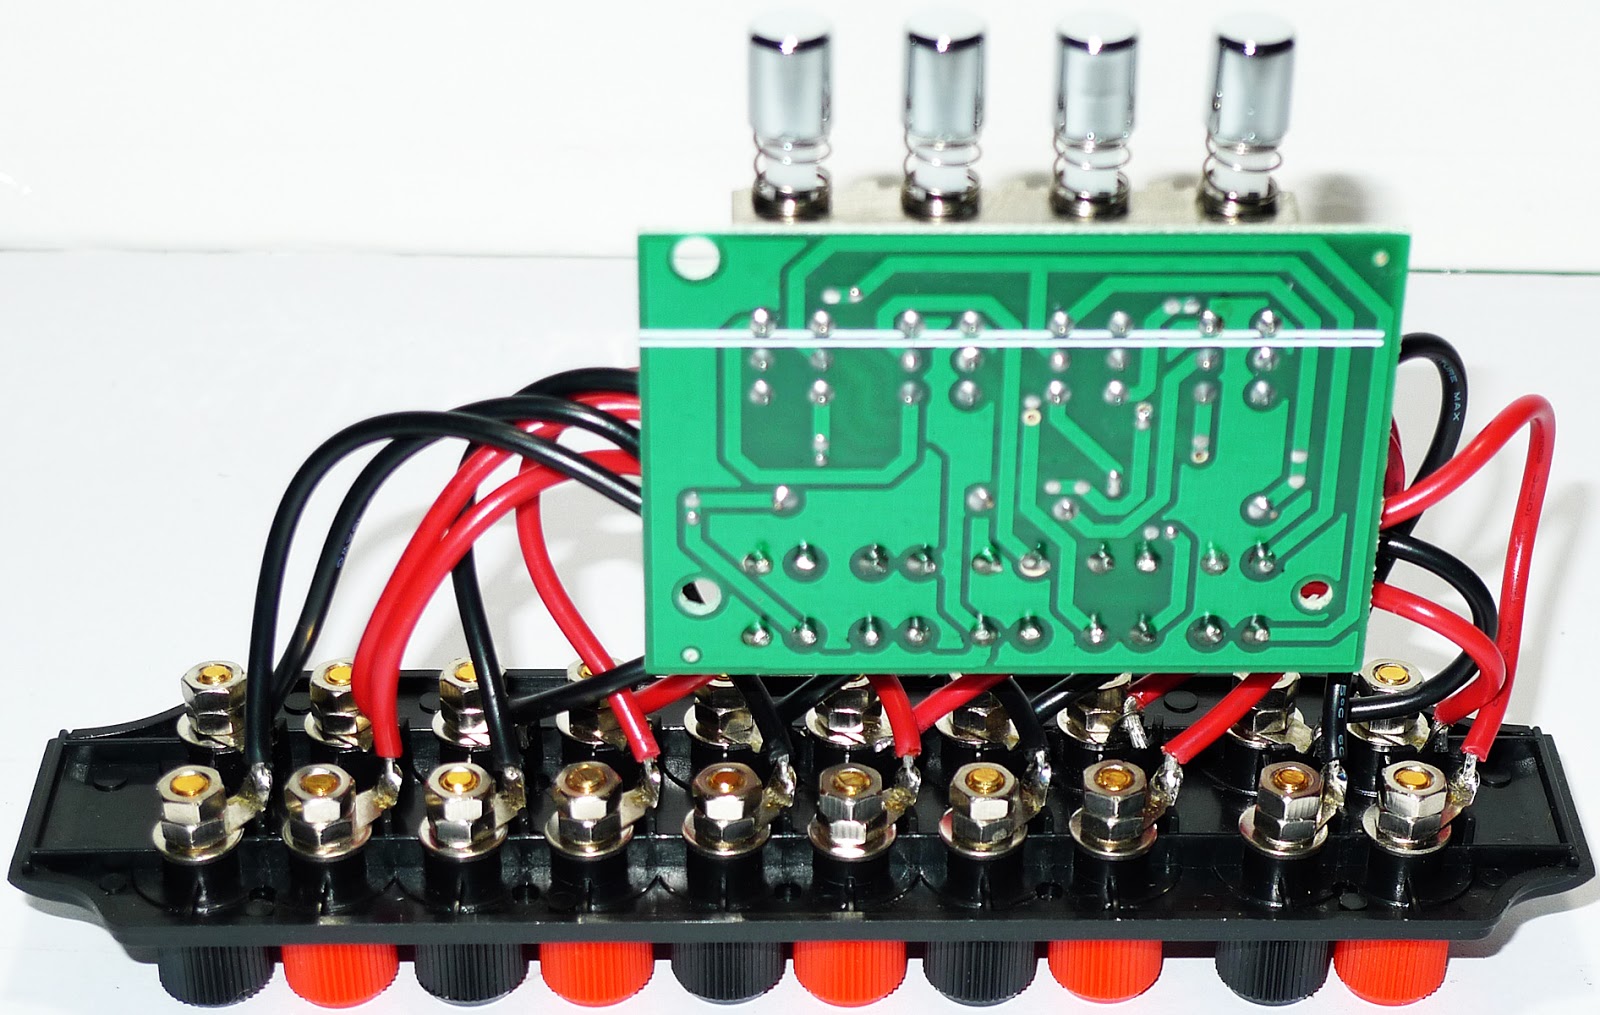
Sadly, it had these cheap spring terminals. I carefully drilled them to accept banana plugs.
I later sold it. And as so often happens to me, I missed it. I found that Dynaco had updated it and now called it QD-1 Series II L. A new fancier faceplate was the only change that I could see.


I was able to convert it to three-way binding/banana terminals.

Granted, I did a crappy job, but they worked and were 3/4" spaced top to bottom so double-banana plugs could be used.

I later sold THAT one too. I went on eBay one day, looking under my search "Dynaco Panor" and to my utter delight was saw and bought this QD-2. The final iteration of the Dynaco QD series.

Faceplate had some kind of stains on it that I could not remove, but I did not care, because.....


It has REAL three-way binding/banana terminals! 3/4" spaced.

No data exists nor contact information anymore for Panor. So, I have no idea how many of anything they made were sold. But not many come up for sale. I have not seen a QD-2 since.
You can see it below between Dynaco brother components. You can also see the speaker cables attached to it.
You can see it below between Dynaco brother components. You can also see the speaker cables attached to it.

As a result of my constantly checking for 1990's Dynaco products on eBay I was able to score a Stereo 200 (ST-200), 100WPC power amplifier and much later a PAT-6 preamp-tuner. The PAT-5 Series II sadly never made it to market. I would have preferred it to the PAT-6 as it is limited in the number of inputs and outputs. I have thought about buying the ST-400 Series II power amplifier. At 200WPC, it has more headroom than the ST-200, but it is a simpler amp with no controls or the ability to play more than one pair of speakers.

Not shown in this photo are the two Dynaco A25XL speakers that act as rear or surround channels in concert with the less efficient Advent Baby Advent II speakers atop my Klipsch KG4 main speakers.
All of the preceding has been building to the POINT of this article. You see, that LP record at the top of the article is the first CD4 Discrete record that I have ever found.
I have many QS and SQ albums and in fact, had previously found and bought THE Dynaco record they made to showcase their Quadapter.
 I tried that LP, and well, was not impressed. If you read up on Dynaco's original device, you see it was a simple circuit that someone else came up with. Dynaco packaged it and gave it their own name, perhaps to embrace but not to commit to any of the competing Quad formats.
So, anyway, I played the Henry Mancini album. It is sort-of quasi-Jazzy music with Henry on piano. Then all of a sudden, there were strings playing in the rear speakers! Then they went silent only to reappear later in the music.
This was the most dramatic evidence of the Dynaco QD series ability to actually provide surround sound music that I have heard. Yes, it was kind of corny which is why Quadraphonic eventually faded away.
I have written about Quad in the past and the QD-2 as well. For stereo music, it does greatly add depth to the soundstage. Almost like having room-sized headphones on. I am sold on using it. I can sense the acoustics of the recording space. And that pleases me.
While my wife will not believe it, I truly am, finally, satisfied with my stereo. After a more than forty years (not quite Old Testament) journey through countless iterations and combinations, and I don't want to know how much money, I am really happy.
On another happy note, my oldest grandson, who is 12, went with his mom, to see the movie about Queen. He is now SO excited about Classic Rock music!
I found him a bang box (smaller version of a boom box) and cleaned and tuned it up. They live in a small house and the only source of music is a retro table radio I gave them that has a cheap cassette player on the side. No room for a real stereo.
For Christmas, I used all five of my sealed Chromium-Dioxide cassettes to record ten CDs of classic music for him:
QUEEN, CAT STEVENS, SANTANA, THE WHO, THIN LIZZY, LOGGINS AND MESSINA, OUTLAWS, THE MOODY BLUES, LED ZEPPELIN AND THE BEATLES.
All were from CD sources. When I tried to record an LP, there was no input. Weird. When I went back later, there was no input from any source! It is this JVC 3-head deck:
 Which for some reason looks like this in photos instead of black. It plays cassettes fine, however. I have not investigated yet why no input. If it simply has failed internally, that is OK. I have my Fisher CR-124 right next to me which records fine. As long as the JVC still plays music it will remain in place.
 Identical to the CR-125, the CR-124 (both are one of the few black cassette decks with VU meters) was made to plug into a matched set of integrated amp and tuner. Since it runs on 19 VAC, I found a 16 VAC transformer that put out more than 20 volts with no load. It powers the deck just fine.
So, if you collect records and have CD4 Quad ones and you want to splurge on a Dynaco QD unit, even the original, give it a try.
Thank you once again for taking the time to read my words and view my photos. It is a labor of love. You make it all worthwhile.
Scott
November 28, 2018
#292
All of the preceding has been building to the POINT of this article. You see, that LP record at the top of the article is the first CD4 Discrete record that I have ever found.
I have many QS and SQ albums and in fact, had previously found and bought THE Dynaco record they made to showcase their Quadapter.

So, anyway, I played the Henry Mancini album. It is sort-of quasi-Jazzy music with Henry on piano. Then all of a sudden, there were strings playing in the rear speakers! Then they went silent only to reappear later in the music.
This was the most dramatic evidence of the Dynaco QD series ability to actually provide surround sound music that I have heard. Yes, it was kind of corny which is why Quadraphonic eventually faded away.
I have written about Quad in the past and the QD-2 as well. For stereo music, it does greatly add depth to the soundstage. Almost like having room-sized headphones on. I am sold on using it. I can sense the acoustics of the recording space. And that pleases me.
While my wife will not believe it, I truly am, finally, satisfied with my stereo. After a more than forty years (not quite Old Testament) journey through countless iterations and combinations, and I don't want to know how much money, I am really happy.
On another happy note, my oldest grandson, who is 12, went with his mom, to see the movie about Queen. He is now SO excited about Classic Rock music!
I found him a bang box (smaller version of a boom box) and cleaned and tuned it up. They live in a small house and the only source of music is a retro table radio I gave them that has a cheap cassette player on the side. No room for a real stereo.
For Christmas, I used all five of my sealed Chromium-Dioxide cassettes to record ten CDs of classic music for him:
QUEEN, CAT STEVENS, SANTANA, THE WHO, THIN LIZZY, LOGGINS AND MESSINA, OUTLAWS, THE MOODY BLUES, LED ZEPPELIN AND THE BEATLES.
All were from CD sources. When I tried to record an LP, there was no input. Weird. When I went back later, there was no input from any source! It is this JVC 3-head deck:


So, if you collect records and have CD4 Quad ones and you want to splurge on a Dynaco QD unit, even the original, give it a try.
Thank you once again for taking the time to read my words and view my photos. It is a labor of love. You make it all worthwhile.
Scott
November 28, 2018
#292