#251
Gentle reader,
A confession, the photograph at the top is from a while ago. I think I may have three of those lenses now. But then, film was available everywhere as were places one could get it developed.
My first Nikon camera was an all-black Nikomat ELW. American market versions were called Nikkormat. The rest of the world received Nikomat models.
My first Nikon camera was an all-black Nikomat ELW. American market versions were called Nikkormat. The rest of the world received Nikomat models.

Here it is, with a Nikkor 50mm f1.4 lens and the correct hood/shade for same. Below is the largest camera case/bag I ever had. Look at all those lenses I once had in Nikon F mount.

Big one at the bottom/ left is a Chinon 55-300mm f4.0. It and a few others are YS mount. YS is similar to Tamron Adaptal in that many adapters were made for many brands of cameras. They use M42 threads, but have a pin like Pentax screw/thread lenses to actuate the aperture mechanism.
Earlier, I had bought a very clean Nikon EL2 body and several Vivitar zoom lenses for it. But it had been SO long since I'd used an old film camera, that I kept forgetting to wind it after each shot! so, I sought the AW-1 winder and also a 50mm lens.
This lot came up for $60.00 on eBay and I won it. Well loved EL2 with equally well loved Nikkor 50mm f2.0 lens. AW-1 winder in great condition and all the accessories shown below.


Well loved, indeed. And dirty! I have yet to clean it. I tossed the hideous strap they had on it. The AW-1 runs. And runs. So, I took the bottom plate off of it and then it wouldn't run at all! Turns out the shaft the battery cover screws into had split the plastic IT screws into! So, I have applied gel Superglue to the two to see if that will secure it. Then hopefully I can see why it won't stop running and NOT turning the gears to actually wind! (I took it apart and found the drive gear on the motor is made of nylon and had cracked, so it was not turning.)


Original manual is a nice bonus. This SEARS lens came in it's case with paperwork too.

Then, I spied another lens lot which included a N2000 body. All for $70.00. I bid again and won.

This set includes E Series Nikon 50mm f2.0 lens which is pristine. Also, something I've never encountered: A Vivitar 2X Macro Focusing converter. More on that later. A Tokina 35-135mm zoom lens and a pristine Sigma 28-200mm Autofocus lens. It is replacing the Promaster one I have in my AF kit. I've also never encountered the N2000. It is basically a manual focus version of Nikon AF cameras. All the same abilities except AF. Even works wit AF-zooming Nikon flashes.
I'd also won a Vivitar 28-205mm manual focus lens to add to my EL2 kit. Gonna need a bigger bag. Or am I?
Speaking of AF, here is my autofocus Nikon kit without my N90S film body.

Giant beast is a Tamron 200-400mm zoom lens.


Did you know that Nikon lenses that end in "D" are not designed for Digital? Like the 28-80mm one above? The D stands for Distance. These lenses tell the camera the exact distance to the subject. They also have a metal mount unlike the "G" digital-only lenses which are plastic. Of course all Nikon (and other brand) AF lenses can and DO work just fine on their digital bodies. They planned it that way. Only Pentax and their "K" mount are the same way.

Above, the ubiquitous 18-55mm "kit" lens.
My only digital-only lens.

This Sigma 70-300mm lens was a surprise thrift store find.

This is a Quantaray (Sigma-made) 19-35mm very wide lens.

Here is the D200 body that replaced my D70S. 50mm F1.8 on it.

Back to 28-200mm zoom lenses. Fat Promaster on the left. New Sigma Compact in the middle and late-arriving Vivitar manual focus on the right. Oh, how zoom lens technology has changed.
Let's examine these universal lenses for a few minutes, shall we? I don't recall the first 28-200mm zoom I had, but it was like the one on the right, tall or long if you prefer. I could not fathom how something that long could provide a 28mm wide angle view.


Below shows how the two AF lenses extend. I believe they call it helicoid. That's the way they twist to lengthen. The MF lens slides and the groups of lenses separate as a result. I suppose the AF elements do as well, but frankly I have not researched it.


Here we have a one-on-one comparison of the two AF lenses. Both have identical specs, yet the Sigma gets away with a 62mm filter threads to the Promaster's 72mm. The Sigma is newer and more expensive (when new) than the Promaster. So I am keeping it and passing on the other.

So, I have established that Nikon in extreme wisdom, chose to make even their digital SLR bodies "backwards convertible". No, that is not some odd car. It is the opposite of "built-in obsolescence". A 1950's non-AI Nikon F-mount lens will mount on and work on the latest Nikon DSLR. It will require all manual operation, but you will be able to create images with lenses that are older than most people reading this.
Let's take a closer look at my film gear. I have an N90S autofocus body with the optional battery pack that also doubles as a vertical shutter button and grip. I started out with lesser AF bodies before choosing the N90S.
 That lens is a Nikkor 35-80mm zoom, something inexpensive to have mounted on it while it's on display. One problem I have with this camera is the rubber coating on the outside of the film door. Some of it has rubbed off and the rest is slightly gooey.
 You may recall my post about mounting Leica M39/L39 lenses on my D70S. Well, since these lenses are made for a rangefinder body, they could only be used for macro work. Silly way to do that. Which is why I bought a Panasonic Lumix G1 micro four thirds body. Prior to that, I bought this Soviet-era Industar 50-2 lens pre-mounted on an M42 to Nikon F adapter. I have not shot with it yet and am not even sure if it's a good lens. It's mounted on the dirty EL2 body.
Which brings me to my next subject. Nikkor 50mm lenses verses Nikon E Series 50mm lenses. I have put the question to my FaceBook classic camera & lens groups. Their answers were mixed. Some praised the E Series, others suggest the older lens is better. I'm only keeping one.


 Identical exit pupil since they are both f2.0. The "depth" refer to is how deep set the Nikkor's front element is compared to the E-series. Thus almost negating a need for a shade/hood.
 Of course, as you will see, most, if not all, of my manual focus lenses are equipped with the meter "fork" that one must physically mate with the meter lever of Nikon bodies older than the EL series. Which is a vote for the Nikkor 50mm.
Let's look at the rest of my recently acquired hoard of manual focus Nikon-F mount lenses. Help me decide which to keep.
 Starting with the zoom lenses, which is most of them. Although the Tokina 35-135 lens is pristine, despite the slight dent, Tokina lenses are not that great. So it is going elsewhere. Next, the new Vivitar 28-205mm is a keeper since it is so versatile. I wish it were a Series 1, but it is not. The SEARS lens, also pristine at 80-200mm is going too. The biggest one is a Series 1 and fast at a constant f3.5. Sadly, it is not AI, so it is relegated to my using the EL2's stop-down metering which is a nuisance. So, it is going unless I buy an older body.
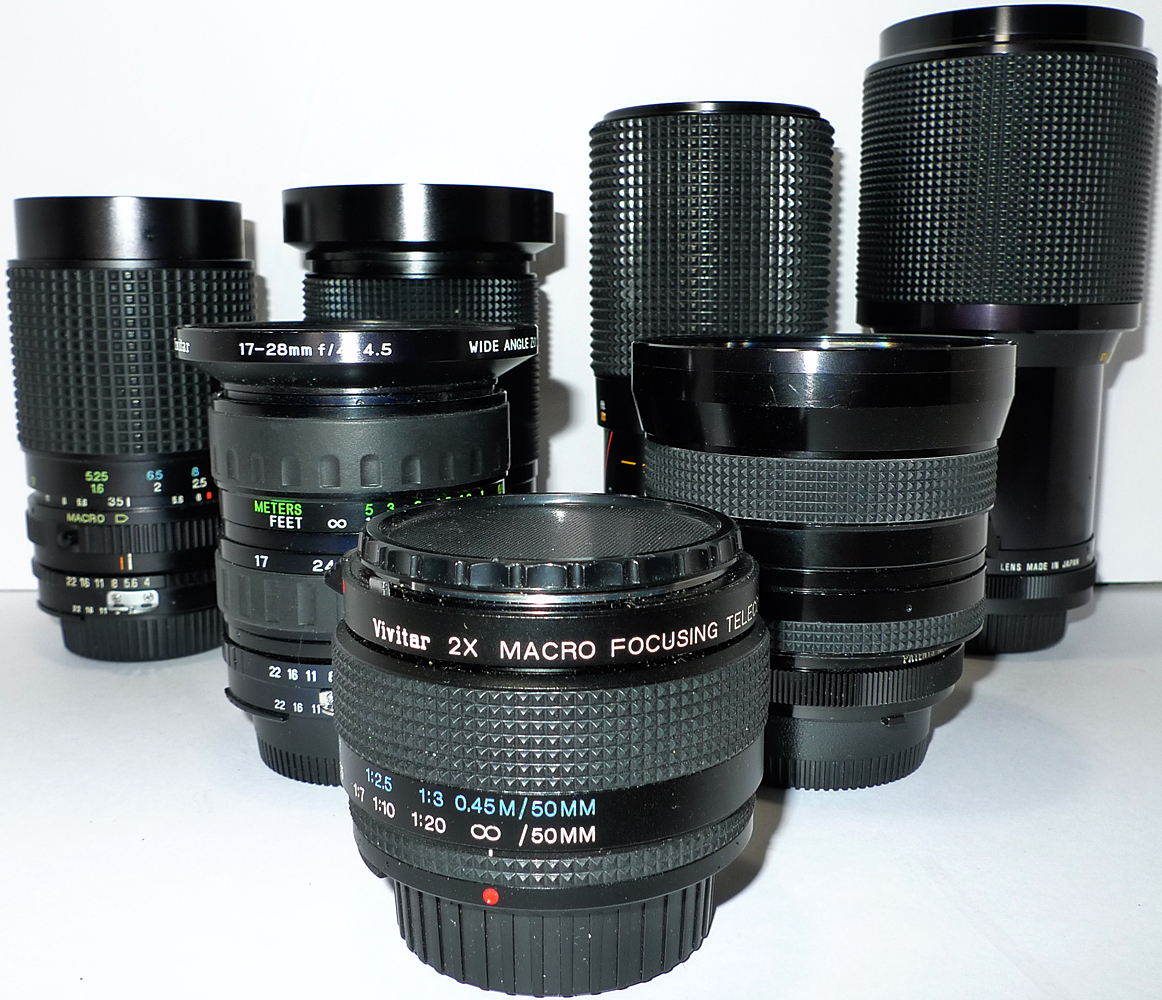
 Next, the two wide angle zooms. Both Vivitar, the 24-48mm is a Series 1. The 17-28mm is not, and prior to buying it, I'd never seen this one. It nicely covers the wide angle needs of less than 28mm the long Vivitar covers. So it is a keeper.


 Different coatings reflect different colors of light as seen here. Someone out there is going to like this fat fellow enough to make it their own.

 I messed up this next shot, the two zooms on the left are of opposite construction to what seems correct to me. The huge Vivitar is at it's shortest setting below. However, I neglected to slide the SEARS collar forward to show it is also at it's shortest that way.


 This 2X by it's design in addition to a 50mm lens magnifies from 1:20 life-sized just below infinity to 1:1.5 life-sized! OK, true macro lenses are 1:1, which means the image on the film is exactly the same size as the subject, but this way less expensive device does almost that. It's a keeper.
 I just searched my images archive for a photo of a real macro lens, but the only one I kept a photo of is a Tamron 90mm and it's only in group shots. I know I had a 50mm true macro at some point.
So, there you have it, thanks for helping me to decide what to keep and what to pass on to others.
SOON, I will have them on eBay: rfcollectin | eBay
Thanks for looking,
Scott
May 11, 2018
Let's take a closer look at my film gear. I have an N90S autofocus body with the optional battery pack that also doubles as a vertical shutter button and grip. I started out with lesser AF bodies before choosing the N90S.


Which brings me to my next subject. Nikkor 50mm lenses verses Nikon E Series 50mm lenses. I have put the question to my FaceBook classic camera & lens groups. Their answers were mixed. Some praised the E Series, others suggest the older lens is better. I'm only keeping one.

New-to-me N2000 body with beat up Nikkor lens.

Super-nice EL2 with E Series lens.

Some say the depth of the Nikkor is better.

Just look how dirty they let this lens get.


Let's look at the rest of my recently acquired hoard of manual focus Nikon-F mount lenses. Help me decide which to keep.


Can anyone tell me what the "-S" stands for?

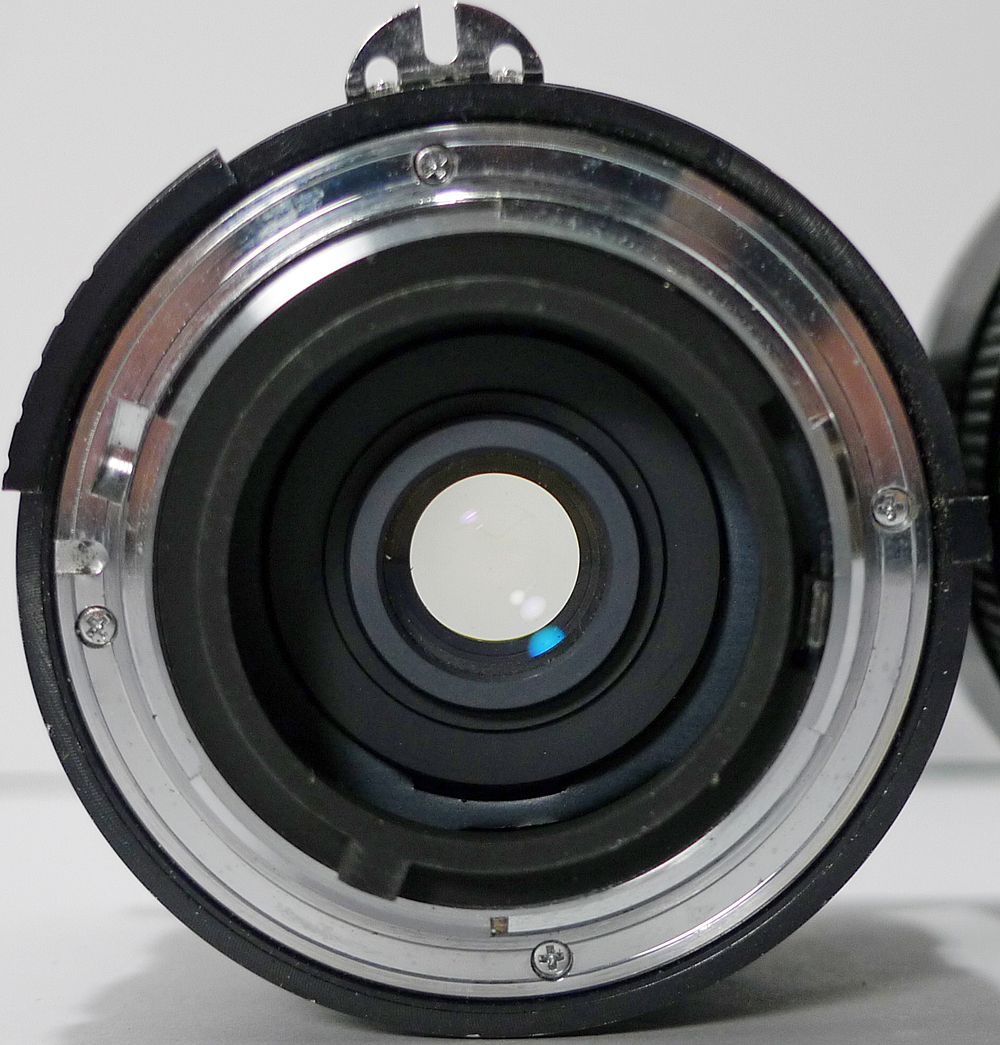
F4.0 exit pupil above, verses f3.8 below. Big difference.


Photo above shows all four at their longest magnification.
Logically, to me, they should all be like the left two.

Once I figured out how this works, I got excited.


So, there you have it, thanks for helping me to decide what to keep and what to pass on to others.
SOON, I will have them on eBay: rfcollectin | eBay
Thanks for looking,
Scott
May 11, 2018