Moving My Large Scale Diecast Car Collections And Rethinking The Room

 December 15, 2020

#408

Gentle reader,

Nancy and I have acquired many diverse collections in our twenty-five years of marriage. 

Many have come and gone, for instance, many years ago upon my finding an old Yashica 35mm film rangefinder camera at a church bazaar, I decided I was going to collect cameras. I ended up owning more than 500 of them. Usually about half that many were on display at any one time. Now, I have only twelve. Most of those were gifts or inherited from Nancy's father. One of which is the same model Yashica as my very first find. Her Dad taught me about how to focus a rangefinder camera when I first showed it to him.

The only photo I have of that very first camera. I still had a lot to learn about photography back then.
 

Our current obsession is diecast cars. I have been collecting them for years and had bought Nancy a few Model A Fords (which her dad restored them when she was a kid) and a couple 1963 Ford Falcons. It being her first car, even though it was made two years before she was born!

When 3DBotmaker's wonderful 1:64th scale diecast racing videos first showed up on YouTube and I had Nancy watch some, it hooked us both (and thousands of other adults) into the hobby of collecting AND racing those iconic Hot Wheels and other brands of 1:64th scale cars and trucks. Like many people around the world, we too are building our own scale race course.

3Dbotmaker - YouTube 

All that aside, the very room where I sit and type these articles went from being a small bedroom, in 2001, to home office/museum/second music listening room. I had covered almost every inch of wall space with framed posters and racing photographs as well as other framed items. I also had hung the pair of BOSE 301 "direct-reflecting" speakers which Nancy bought for me on the wall opposite me (and wrote about how you too could do it) and had as many as FIVE pairs of speakers in here. It was getting ridiculous.

So, I decided it was time to simplify. I started by removing all the artwork. Then all the toys from various shelves. Boxing the framed art that would fit. I then began filling all the MANY holes I had once made with nails, screws and pushpins/thumbtacks in 19 years in this room. 

I first wrote about this room back in 2008, here is a link which will give you an idea what it looked like way back then. MANY times I have moved things around added or removed shelves and desks and other things:

The Robb Collections: The OFFICE a virtual tour

Go ahead and click on that, and then just click or tap on the first photo in the article and then you can quickly go through a "virtual" tour from twelve years ago. Then come back here.

The denuded wall opposite where I sit. Some eBay items are sitting in front of and to the side of one of the shelves I am going to move.


The photo below is from three years ago and shows how packed with things the walls had become. 
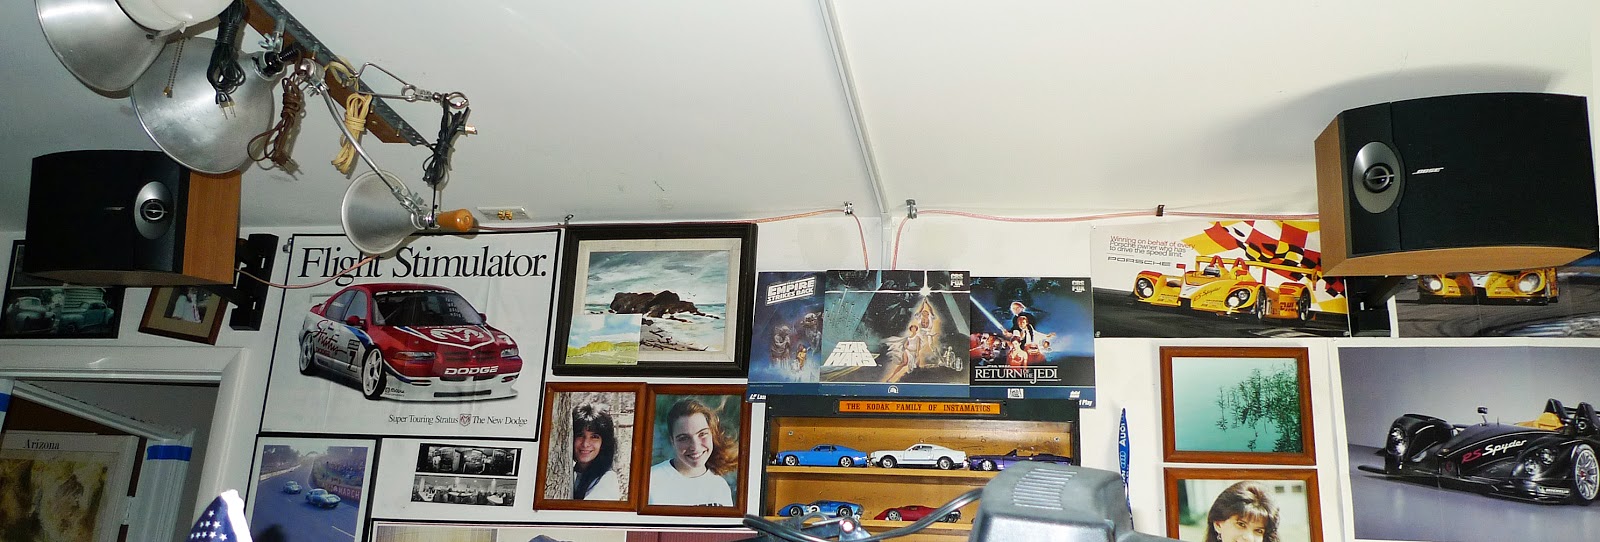
Also, you can see the BOSE 301 speakers in place. I mounted them on adjustable flat screen TV mounts to get them away from the wall, which improves the sound.

This is a wide angle shot lower down the same wall. Three photos of Nancy and one of my oldest daughter are among the car photos. 

I also simulation race in here (although not in a long time), you can see the top of my gaming chair and the 42" TV can be seen.

So, may I assume you have looked at the "before" photos in the 2008 article? Good.

Let me quickly show you the now empty walls in the following photos. Starting to the right of the door:

The shelf has now been relocated. The stereo pieces there are for out oldest grandson who has fallen in love with classic rock music thanks to seeing the movie about Queen.
With the 1:24th, etcetera scale cars shelf removed and the racing simulation TV moved closer to the window, I can see the entire length of the shelf and all the cars now.

Framed posters and vintage race car photos and posters. You can see the racing steering wheel/pedals frame sticking up the far side of the chair, above and below.
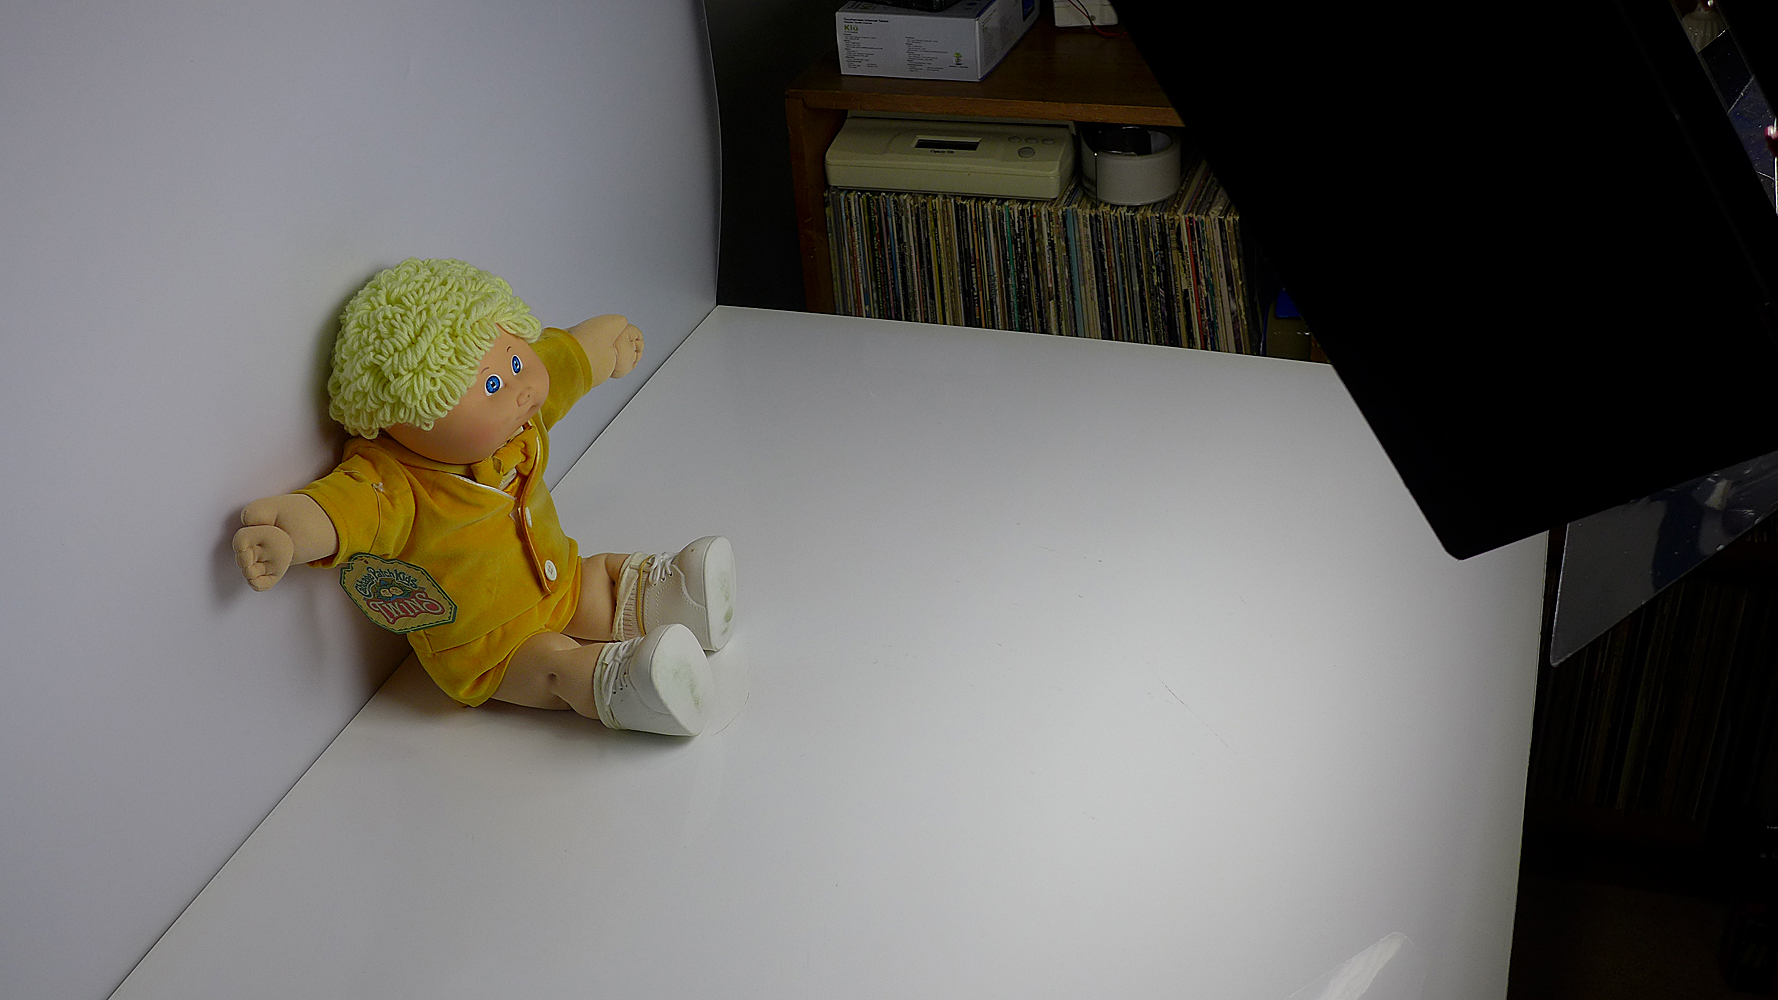
That box contains all the smaller framed items, including a painting my mother made in the 1960's. That well worn table is often used for packing things for shipment and appropriately converted into a "studio" for shooting images for eBay.

The right speaker all alone. The window through which I have a nice view out as I type. I just saw Jerry deliver our mail. He is a SUPER nice guy! If I have packages too big to fit in the mailbox, he told me years ago to leave a note in the mailbox and he'd come and get them!  
My stack of Yamaha stereo components with an Epson photo/film scanner atop. The box on top of the shelf contains all the various (mostly Toy Story) toys and Nancy's father's scale next to it. It's still accurate!

The wall behind me, once covered in framed posters and large vintage Le Mans racing photos as was the wall above the window. 
The corner to the left of my chair with closet doors. Those two cameras used to sit by my left shoulder. One is a "Press" camera, the other a paper camera I built from a kit.

The bump-out of the closet and one of two shelves I made for the girls when we moved here in 2001. It's too wide for that wall, but I had no where else to put it.

Two airsoft AEG rifles and two vintage Daisy pop-guns like we had as kids up on a vintage rifle rack. 

The large white foam boards are what I use atop that little table to shoot items on for eBay and sometimes for articles too.

This shelf was once packed with stuff. I've been selling off things so that our kids won't have to deal with them when we are gone. Almost all of those HO trains were Nancy's fathers. 
I am going to build a new shelf of 1x3 lumber and place cars on tracks on them and mount it on the wall. It will also be covered like this one with Plexiglass (but completely) to replace this shelf.
As mentioned, those two large cameras once sat to the left of this cabinet. I built it from recovered wood, the frames still have nail holes in them. Lexan is within the framed doors. I originally made it to hold Nancy's Beanie Babies collection. There was one more shelf at the top.

Here are the cars as they were before I emptied it to move it and ten of the twelve film cameras as well as some smaller cars and other camera trinkets. 
The shelf was screwed to the wall for safety. The keys on the left are from our now gone: 1987 Porsche 924S, 1996 Chevrolet Camaro Z28, 2000 Audi TT quattro and 2002 Subaru WRX wagon. All of which I have represented in miniature. A US Border Patrol replica badge and replica ICE badge hang on the right side.

The smaller shelf/cabinet which sat opposite me for years, now minus the Kodak Instamatic Cameras sticker, is also screwed to the wall, with it's bigger brother. The two are exactly the same width as the base shelf/cabinet which they now reside on. Yeah, I planned it that way. No not really. A happy coincidence.

I built that base shelf/cabinet in the 1970's from white Walnut wood with the guidance of my then-girlfriend's father. He felled the tree on his land in the mountains of Virginia (it had died), had it sawed and planed into boards by a sawmill. 

A small percentage of my LP collection. Classic rock and pop on the top shelf and film scores/soundtracks on the bottom.

The cars from the other wall are now rearranged. I pulled one to put on eBay to make this work. 
Top shelf: 1970 Ford Mustang Boss 429, a modified 1972 Datsun 510 (my dad had one once, that color) and a Dodge Challenger Hemi convertible. 
Next shelf: A model of Magnum's Ferrari 308, a Ferrari F40 and F50 roadster. 
Bottom shelf, two Cobras Nancy bought me, 289 on the left and 427 Competition on the right. A 1:43rd scale Volvo 1800ES and it's spiritual descendant, a C30.

EVERY car on these shelves I once owned real ones of. 
 
Bottom to top, left to right: A representation of my first two cars: 1964 Chevrolet Impala two-door hardtop (it looked more like the one above it), a 1964 Chevrolet Chevelle Malibu SS. Mine was a convertible and the first M2 Datsun 510 kit I bought. I did not know it had no interior! 
Second shelf from the bottom: aforementioned Impala, a much cheaper one, which I modified to resemble my real car, it is the same color as mine. Between it (it time) and the blue car were a: 1967 Chevrolet Impala SS convertible (I have a hardtop in 1:18th scale in the big cabinet). The blue car is a plastic model I built of the 1941 Plymouth Coupe I was building into a hot rod.
 
I will be doing another in my series of real cars I once owned in miniature.
 

Black and white photo by my brother Jim of me at 19 working on it. Color photo below is from one of three color slides my girlfriend's father took of it. The same man who helped me build the record shelf/cabinet.

OK, where was I?

Oh, yes. I sold the '41 Plymouth and got married, not to that same girlfriend. New wife had a 1978 YELLOW Datsun F10 when we met and I had a new, red 1979 Chevrolet Monza. She sold her car and bought me a 1974 Triumph Spitfire sports car. She liked Audis, so I traded my Monza for a used 1975 Audi 100LS. There were more cars in between. AFTER that, I bought a 1974 Chevrolet Vega Kammback wagon. Represented by the green Vega by the blue car.

Next shelf up: I bought the neighbor's 1975 Chevrolet Monza 2+2 which had a V8 engine in it with the intent of transferring the V8 into the Vega. The Monza was burgundy with brown leather interior. A 1975 Monza 2+2 is shown here in white as a promotional model which the the green Vega also is. 

YEARS later, I was shed of that wife and married to Nancy. I traded my 1993 Ford Escort five-speed station wagon for a used 1996 Chrysler Sebring JXi convertible, shown here in red. The top WORKS on that car, it is fabric and folds up and down. THEN, years later, I bought the 1987 Porsche 924S, represented her as an orange 924 Turbo model car.

Top shelf has a red/black promotional model of a Chevrolet Camaro Z28. We had a white one with charcoal leather interior and T-Tops. I built a 1:20th scale model of in which is in the larger cabinet. Then a red Audi TT quattro from Welly, the only 1:24th one I could find at the time, and the Volvo C30 represents the 2005 V50 T5 M66 wagon which I currently own. (I have a 1:43rd V50 model.)

If you'd like to see ALL of the cars I have owned, there are a lot of them, click here:

The Robb Collections: A Journey through time, via Automobile Sales Brochures  

This is the very last photo. You have seen the top two shelves already. 

My 1:43rd scale Volvo wagon collection. My V50 is third from the right. Same color as the real one. I bought it used, if I'd bought it new, it would be red.

Lastly, all the main characters from Pixar's CARS movie. Our ever-thoughtful daughter bought me the whole set after the film came out. They are plastic. But, we have thirty-some other CARS models all in diecast metal.

Whew! I DO tend to run off at the fingers. I hope it was not too confusing. 

I now have the task of deciding what to put back up on the walls. This room will be the LAST one I fix up in the house.

Please take a moment to click or tap the FOLLOW button, it's by the photo with the rifle rack, and receive notices of new articles when they come out. 

Also, take a moment to comment below, or on Facebook. I REALLY appreciate your taking the time to read my humble blog.

Scott & Nancy

December 15, 2020

#408


I Found a LS PHOTO PRO STUDIO FL4N Studio Light For $3.99! I Show it to You and Review it.

December 7, 2020

#407

Gentle Reader,

You are forgiven if you too do not recognize the name of LS PHOTO PRO STUDIO. Before finding this at a local thrift store, I had not heard of them either.

Here is a link to their web site. They have NOT sponsored this article. I am simply showing you how to find their products: 

Welcome to LS-Photo Studio. U.S.A No.1 Photography Stuff – LS-PHOTOSTUDIO  

Here is a link to this light's bigger brother, the only one they still sell with long tubes. It holds SIX tubes:

1650 Watt LS Photo Studio Digital Lighting Fluorescent 6-bank Barndoor – LS-PHOTOSTUDIO

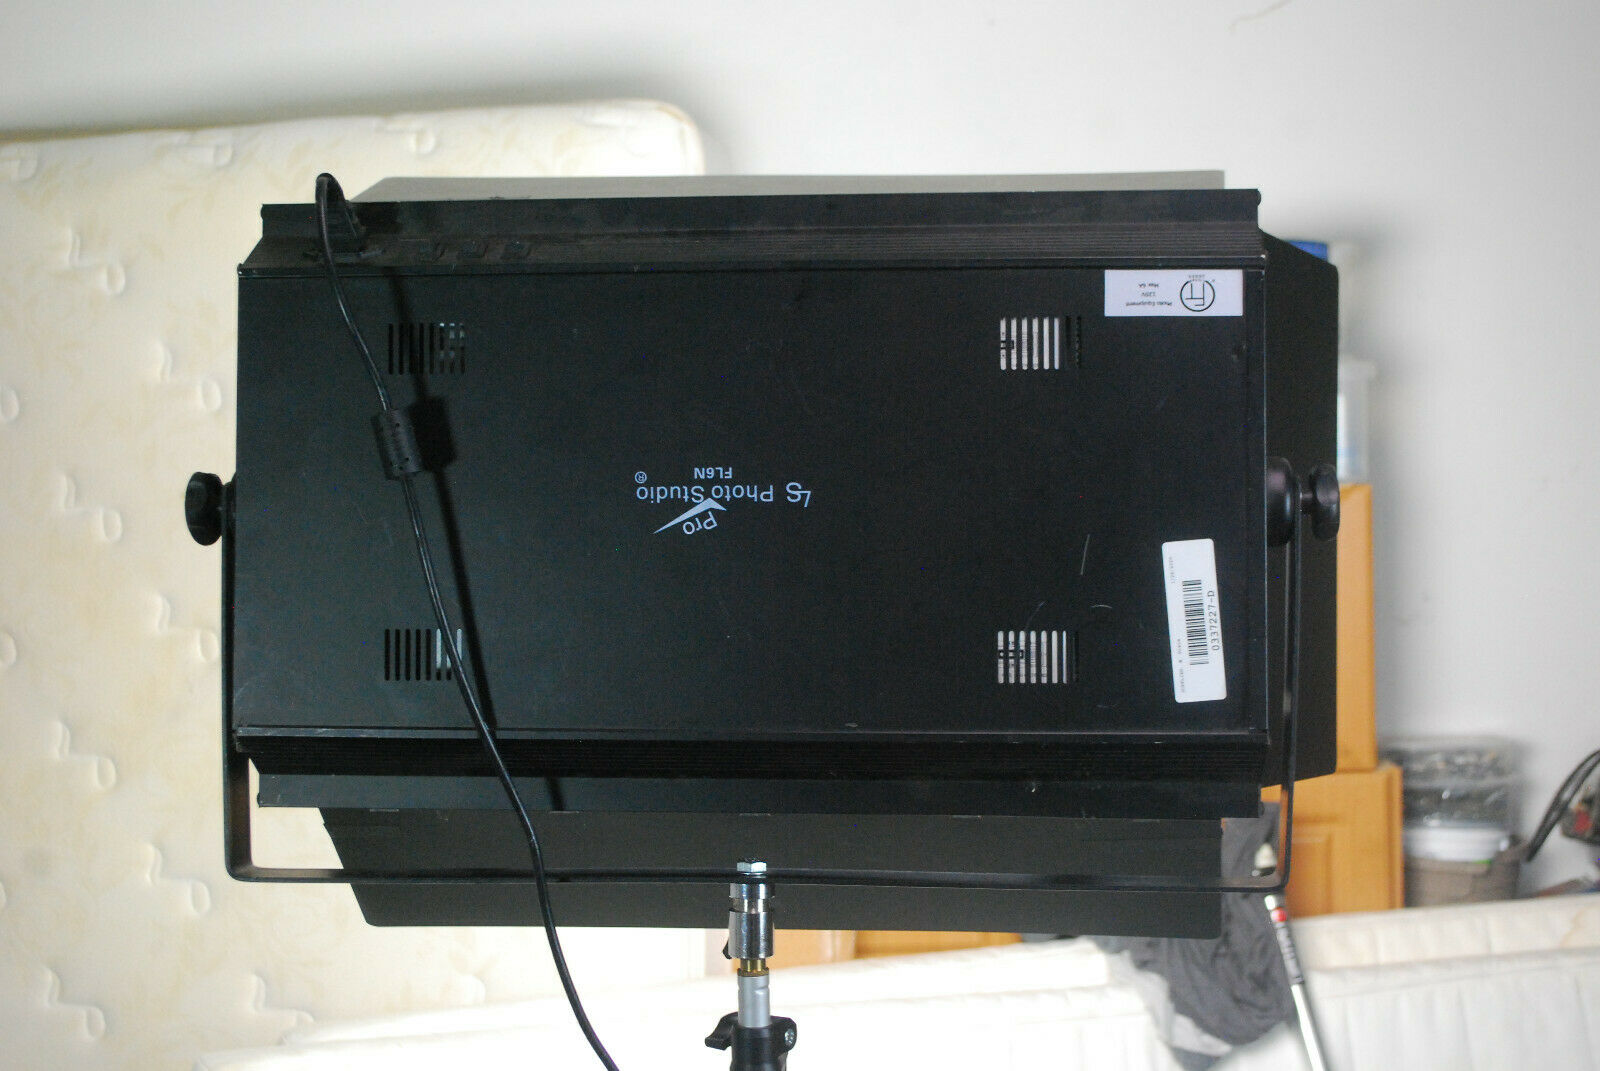
I spied a big black metal rectangular boxy thing was sitting on a bottom shelf at the thrift store. There was no power cable attached. I dragged it out and turned it over, that was when I saw on the back, the printed information as well as the power switches and an IEC AC power socket. 
I looked around the electronics section and spotted a computer monitor with a l-o-n-g power cable wrapped around it's stand. Knowing that monitors usually have a three or four foot cable, I unwound it and determined that someone wanting to test that monitor did what I had done: search other things for the right cable.

I have used studio lighting in the past with "barn doors" which attach to flashes or continuous light sources such as these:
All of these are vintage Spiratone AC powered studio flashes. A barn door fully open is with them, above, and detail shots of it are below.


Like the light I am showing you, the doors close over the light source for storage.

The two photos above show the lamp, closed, front and rear and the bracket I created for it. I have since removed the store's price sticker residue.
These two photos are from an eBay auction for one just like this unit. When I saw that cable, I was justified in claiming the one I found as having come from this light.
These are the mounting knobs it came with which were also missing. I happened to have two knobs that were the correct metric threads and length.

The factory's protective plastic placed on the mirrors, blue on the folding barn doors/reflectors and yellow behind the florescent tubes was still in place.
I peeled the plastic off after removing the U shaped tubes. The sockets are well designed for quick and easy in and out of the tubes.

The photo above I shot at f8.0 in order to show you the tubes on and in place. They are daylight balanced at 5400K.
This thing is big and heavy and I have never had any type of studio lighting like it. It is 26 inches wide in total (knob-to-knob), twelve inches top to bottom and five inches deep.
Initially, I tried to copy the mount on the factory bracket using a 3/8" coarse threaded bolt and long threaded rod connector nut, as seen above.

However, the threads on the black light stand adapter protruded and the light rotated as a result.

Below is a closeup shot of a 3/8" threaded rod as well as the long connector nut.
Threaded rod comes in many diameters and is used in commercial buildings to suspend all kinds of things. The aforementioned long nut is used to connect pieces of rod.
You can see my light stand adapter attached to the adapter I bolted to the bracket.
Two power switches for half or full power and the IEC socket with power cable in place.
Flattening the ends of the brackets with my bench vise did the trick, the holes were already there. These pieces of metal came from an old computer table which I kept for years. "You're never know, you might need this someday." I have said to myself many times. In this case, I was correct.
I used another smaller piece from the same set of pieces which fit inside the two bracket's round pieces. It was threaded in one end with that Allen bolt for it. I drilled through both tubes and bolted them all together.
 
It occurred to me for use in this room lighting objects for eBay auctions that the light would work best hanging from the ceiling. 
Years ago, I bolted a piece of wood to a metal L shaped bracket and bolted to it to the rafters through the ceiling drywall. 
Above are a number of vintage and newer lights and reflectors and diffusers I have had for many years which I store by attaching them to 3/8" bolts protruding from the bracket.
These photos show the aforementioned bracket/board and the threaded rod and safety chains I attached to it to support the light.

The safety chains were an afterthought. While threaded rods are designed to hold a lot of weight, the bracket I have up there may not be. Plus, they limit the light's ability to rotate should I bump into it.
Above and below shows the light on and illuminating an eBay object.
As you can see from these two photos, the light is a broad source which helps to minimize shadows.
I copied the six-bank FL6N's statistics from their website and used that information to deduce the following:
 
"LS Pro Photo Studio FL4N Studio Lighting Kit

4-Bank Fluorescent light panel with barndoor
 
Reflector Equivalent : Total 1100 Watt of output
Supply Voltage : 110v 60Hz
Size: 24"W x 12"H x 5"D
Two Bank control ON/OFF switches on the body (Two switches   control four bank)
Four-Way Barndoors
Double Barndoor Wing (More Even Light Reflection)
10,000 Hour Lamp Life 

(4) x 55W 4 Pin Type Light Bulbs

Base: 2G11
Bulb Type : Fluorescent Bulbs
Color Temperature: 5400K
Length: 21"
Rated Life (Hours) 14000
Shape Single Tube 4-PIN
Wattage (W) 55W

Photography Fluorescent light panel Photography Barndoor Light"  
 
The statistics were written by someone in Asia whose knowledge of English is FAR greater than mine is of ANY foreign language. So I will not criticize the clerical errors.
This is the top of my largest and most sturdy light stand. It reaches to twelve feet!
The threaded portion is 1/4" and below that, it is designed to attach various stand adapters.
This is one of many adapters it will accept. Below are some others I have:
This is another one I have which is designed to attach to the light stand's shaft and also hold an umbrella.
Above is a vintage Spiratone unit that would screw right on to the stand's 1/4" threaded portion. One can insert a flash on one of two sides.
Above and below is the same adapter. Above I made the piece to hold two large shoe-mount flashes together pointing into an umbrella.
The one above, would also thread onto a 3/8" light stand with the ability to also hold a flash and umbrella shaft.
These are circa 1960's Spitratone units which were part of a "Studio-in-a-box" set.
During another trip to the same store, I found this light stand for $1.99. It's top shaft was threaded for 10mm, but I tapped it down to 3/8".
From another eBay auction someone is selling their FL6N light for a bargain price compared to a new one.
I moved the table I usually used to shoot items for eBay to a more spacious area of this room. This allowed me to move the LS light towards the opposite end of the bracket and raise it up. 
The safety chains are now too long, so I wrapped them around the horizontal bar.
I also incorporated the seldom used Victor ten inch lights with diffusers to increase the light output since the LS light was now farther from the table.
With it rotated thus, below, my bald head is just protected from it. I'm six foot three and this is one half inch above my noggin.

 
Will all that being said, what do I think of this studio light? 

I think it's terrific! Being such a large light source which does not require a softbox or other light modifier it produces almost shadow-free lighting.
 
It does not get very warm, it's well made and the price I got it for makes it even better. 
 
With the ability to suspend it or mount it on a light stand it is very versatile. 
 
One of more of these make a very bright and evenly lighted area for both still and video imaging. 
 

If you haven't done so already, please take a moment to click or tap the FOLLOW button (at the bottom of the list of dates above) and, if you wish to, leave a comment below or on Facebook.

Thanks again for reading our humble blog!

Scott

December 7, 2020

#407  


White Van Speakers. Who Fell Victim to those Sneaky "Salesmen" Back in The Day?

  July 10, 2026 #459 Gentle reader, There is an interesting Audio-Equipment-History YouTube channel called "Multimedium". They mak...